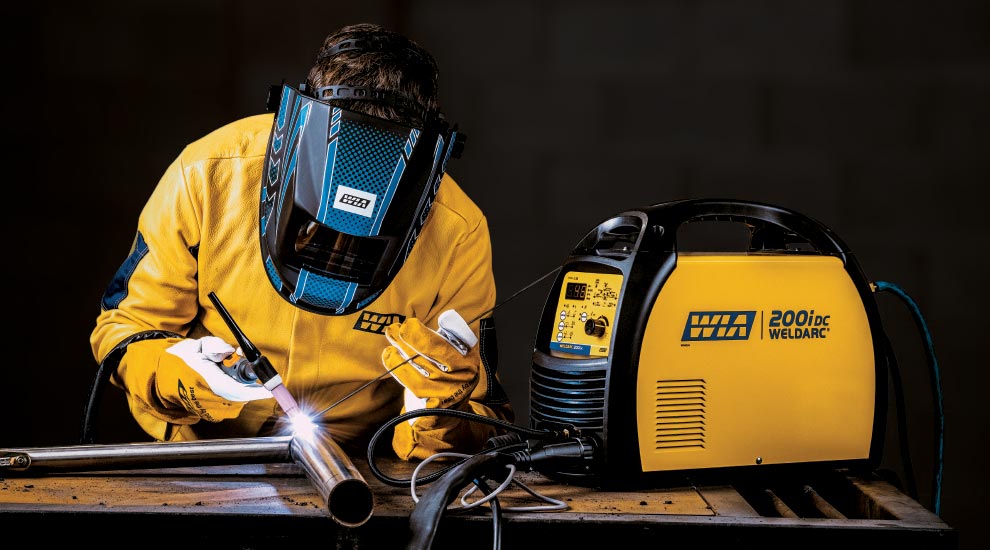
What is the right shielding gas to use? What position does a particular filler metal weld in? These and other questions are likely able to be answered by consulting a filler metal data sheet.
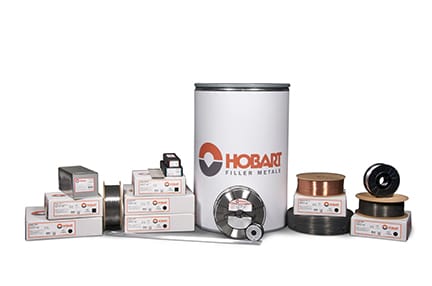
Original article courtesy of Hobart Filler Metals - hobartbrothers.com
And while there is no industry standard for what manufacturers include on filler metal data sheets, these documents are valuable for understanding the proper usage of welding wires and stick electrodes. Referencing them can help welders ensure they are employing the correct welding parameters to gain high weld quality and productivity — and avoiding costly downtime.
Referencing filler metal data sheets can help welders ensure they are employing the correct welding parameters to gain high weld quality and productivity — and avoiding costly downtime.
Welding operators should make it a best practice to consult filler metal data sheets prior to welding with a new wire or electrode. There are common questions that can be answered with a quick consultation.
These documents can also be of great value to welding engineers who are responsible for weld design and the development of welding procedures, plus quality control managers who need to ensure welders complete the welds correctly.
Filler metal data sheets are readily available on manufacturer’s websites and sometimes shipped in product packages.
So, what details do they provide?
Key information for welding engineers
Welding engineers are responsible for establishing weld and joint design, as well as welding parameters for an application. Filler metal data sheets are an excellent resource to gain insight into the properties and characteristics of a filler metal to help achieve the best results. Welding engineers can also consult Certificates of Conformance, which provide filler metal testing information based on material thickness and type.
While welding engineers need to look at all the information provided by a filler metal data sheet, there are several key components they should consider, including:
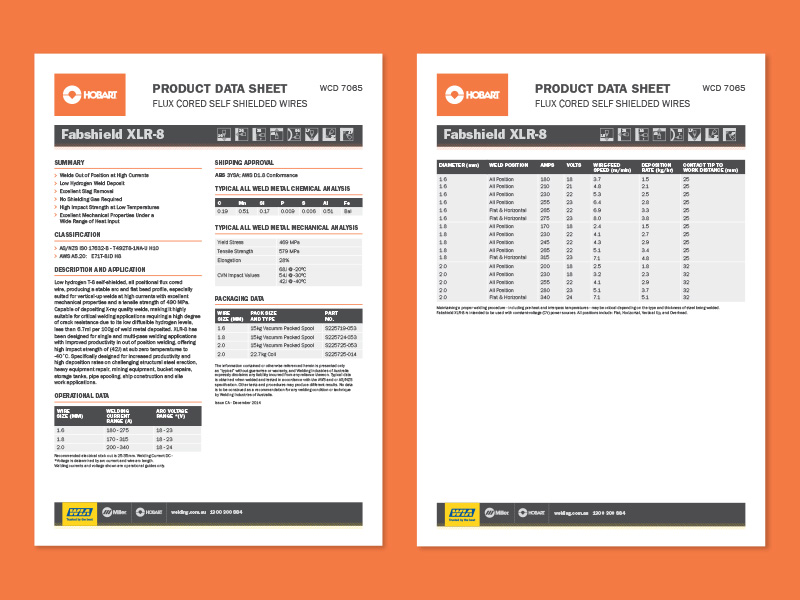
American Welding Society (AWS) classifications: Every filler metal must be tested to confirm it meets the mechanical and chemical properties set forth by AWS to bear a specific classification. This classification is typically included as reference at the top of a filler metal data sheet and can guide welding engineers as they specify a filler metal for a particular weld design.
Typical weld metal chemistry (chem pad): Filler metal manufacturers provide details about the level of elements — such as carbon, manganese, sulphur and phosphorus — created by their welding wires and stick electrodes in the welds. The levels are based on the use of a specific shielding gas or shielding gas mixture and compared to the AWS spec. This chem pad is important to welding engineers because the chemistry of the filler metal needs to be compatible with the base material to provide the best results. In some cases, they may want a filler metal with higher or lower levels of a particular element. For example, higher levels of nickel are desired in critical applications requiring good impact toughness at low temperatures to lessen the risk of cracking.
High amounts of sulphur and phosphorus can cause hot cracking, so it is good to keep these low to help reduce the chance of the weld cracking during solidification.
Typical diffusible hydrogen: Through a gas chromatography test, manufacturers can determine the level of diffusible hydrogen in a filler metal. They report this on the data sheet in the form of ml of hydrogen per 100 grams of weldment based on a shielding gas or shielding gas mixture. This data is valuable since lower hydrogen levels also help minimize hydrogen-induced cracking.
Mechanical properties: Data sheets provide welding tensile strength and yield strength, expressed in pounds per square inch (psi) and megapascal (MPa). These values are based on testing of weld samples created with the filler metal. This testing also provides elongation properties in percentages to indicate ductility. All three must fall within the AWS specification for the filler metal classification so welding engineers are assured the product will be strong and ductile enough for the application.
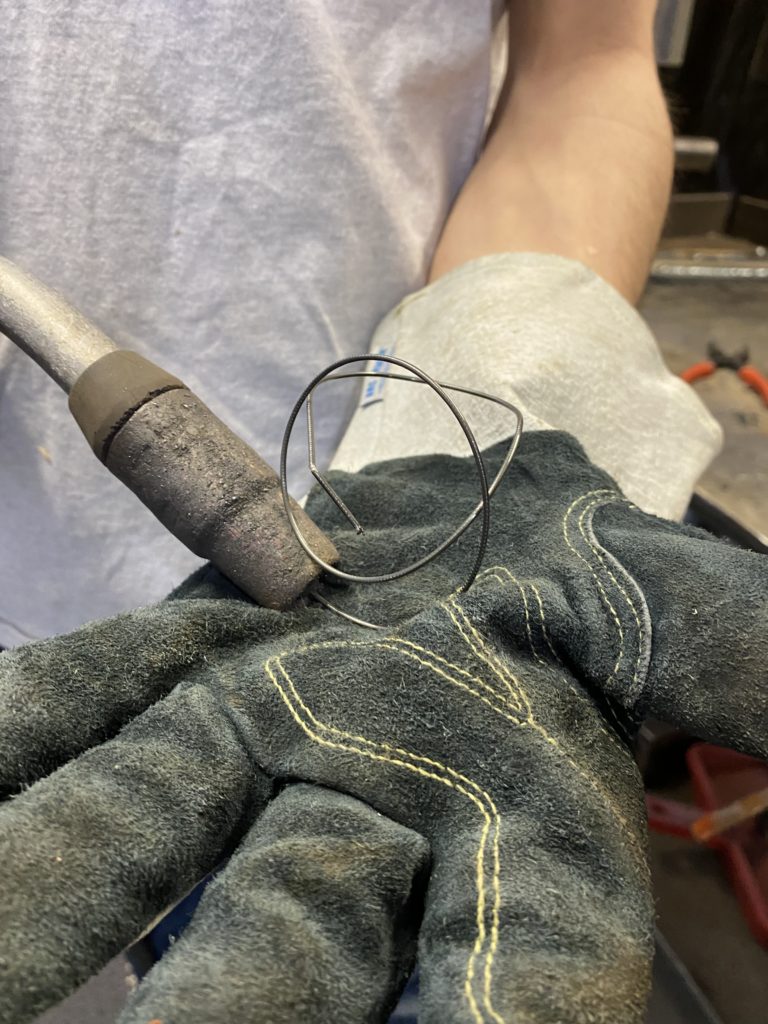
Typical Charpy V-notch impact values: Charpy V-notch testing provides welding engineers with the impact toughness a filler metal will provide in a completed weld at a specific temperature. Impact toughness is how much rapid impact a weld can manage before cracking occurs. These values, expressed in foot-pounds and joules on the filler metal data sheet, explain the amount of impact a weld can withstand at 0, -20- and -40-degrees Fahrenheit, for example.

Charpy V-notch testing (the equipment shown here) provides welding engineers with the impact toughness a filler metal will provide in a completed weld at a specific temperature.
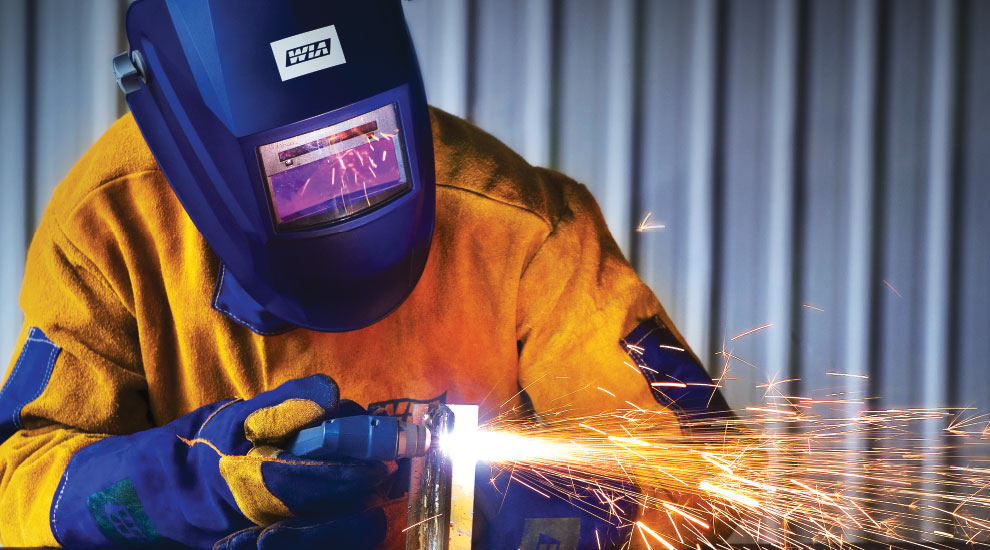
The basics for welders
Filler metal data sheets can commonly be found posted near a weld cell as reference for welders. Some important information that is relevant to welders, and also referenced by welding engineers during weld design planning, include:
Welding positions: Filler metals are designed for welding in all positions (including vertical up and overhead) or flat and horizontal positions. Filler metal data sheets indicate the product’s usability with graphics or they will have the positions written out.
Welders can consult the filler metal data sheet for the recommended amperage, volts and wire feed speed according to the welding position they will use.
Shielding gas: Filler metals, such as solid, metal-cored and gas-shielded flux-cored wires, require an external shielding gas to protect the molten weld pool from atmospheric contaminants. Some wires are formulated for welding with 100% carbon dioxide (CO2), while others can be welded with both 100% CO2 and a combination of CO2 with an argon balance or even a mixture of argon and oxygen. Filler metal data sheets provide this information; it is important for welders to pay attention to the designated shielding gas, as it directly impacts the arc characteristics and weldability of a filler metal. Filler metal data sheets also provide shielding gas flow recommendations.
Type of current: Gaining the best welding performance requires the use of the correct polarity for a given filler metal. Filler metal data sheets will indicate whether a welding wire needs to operate on direct current electrode negative (DCEN or straight polarity), in which the lead connects to the negative terminal on a power source and the workpiece connects to the positive terminal, or direct current electrode positive (DCEP or reverse polarity). For DCEP, the welder uses the opposite connections — the lead connects to the positive power source terminal and the workpiece to the negative. For stick electrodes, the sheet will explain if the product can be used for alternating current (AC) welding, along with direct current (DC).
Filler metal data sheets provide recommendations for set up and welding parameters to best operate the welding wire or stick electrode.
Storage and reconditioning: All filler metals need to be stored in a dry, enclosed environment in their original, intact packaging until ready for use. Stick electrodes, however, have additional considerations when it comes to keeping them in top shape. Ideally, they should be stored in an oven at a recommended temperature to minimize moisture pick up and help ensure a low hydrogen weld deposit that is less prone to cracking. Filler metal data sheets will provide the temperature ranges for storage. The document will also state the reconditioning parameters, should the stick electrode be exposed to the atmosphere for an extended period of time. For example, a stick electrode may need to be reconditioned at 500 to 800 degrees Fahrenheit for one to two hours prior to being used.
Putting the filler metal to work
Having information about the characteristics, weldability, properties and care of a filler metal is important — but the product also has to be put to proper use. Filler metal data sheets provide recommendations for set up and welding parameters to best operate the welding wire or stick electrode. This information is a starting point. Welders and welding engineers may determine that slightly higher or lower parameters work best for the application.
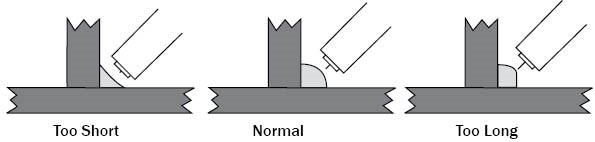
Based on wire diameter — most wires range from 0.035 to 5/64 inches — welders can consult the filler metal data sheet for the recommended amperage, volts and wire feed speed according to the welding position they will use it. Corresponding to these welding parameters, most filler metal data sheets offer a suggested contact-tip-to-work distance in inches and millimeters, along with the achievable deposition rates (pounds/hour) that welders can gain when following these parameters (give or take adjustments to amperage, etc.). These guidelines are based on testing the filler metal with either 100% CO2 or a mixed shielding gas, which will be specified on the data sheet.
Combining the correct operating parameters with the welding procedures for the application, including pre-heat and interpass temperature is important to achieving success. Filler metal data sheets do not provide details on these temperatures, as they will vary according to the material and the material thickness. However, many filler metal manufacturers offer technical support and can help determine the best temperatures to follow, answer any questions about the filler metal’s properties or expand on details provided by the filler metal data sheet.
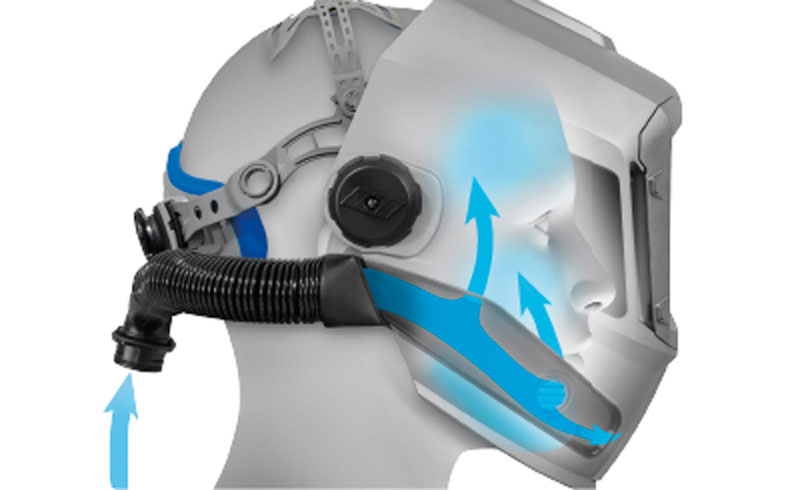
 /safety/view/vortex-hdv-papr-system